
Installing pygame
First of all, there seems to be a bit of a version gap between python and pygame. I had Python 3.4 64-bit installed, but pygame can only work with python 3.2 32 bit. I uninstalled 3.4 first, and then downloaded 3.2. Here's where you can get python: Python's Homepage. Pygame can be downloaded here: Pygame's Homepage,
When downloading pygame make sure to notice the version number. The file you're looking for is pygame-1.9.2a0.win32-py3.2.msi.
Install python first, then pygame.
Creating a blank window
The following is the most basic code to get a blank window that won't close until we close it. It may not seem like much, but that window is the blank canvas where we'll display our masterpiece.
The comments in the code explain each part.
#import the pygame module
import pygame
# import the names from pygame.locals
# These include very commonly used
# constants, for which we don't want
# to type 'pygame.' every time.
from pygame.locals import *
#First thing to do is initialize pygame
pygame.init()
# Now we create the actual window. This
# set_mode method returns a 'surface' object.
# Surfaces is where we are going to draw
# our game
screen = pygame.display.set_mode((800,600))
#This line just sets the caption at the top
# of the window.
pygame.display.set_caption("Game")
# For the main game loop we're going to use
# a bool called 'running'.
running = True
while running:
# Now we look at every 'event' that
# pygame has received, and check if
# the player closes the window.
#
# event.get() returns a list of all
# the events that have been input since
# the last get() call.
#
# Closing the window is an event of
# type 'QUIT' (QUIT is one of those
# commonly used constants)
for event in pygame.event.get():
if event.type == QUIT:
running = False
# To cleanly exit, you call this method.
pygame.quit()
Notice that set_caption takes a tuple as a parameter, hence the double parentheses. We also could've done the following:
resolution = (800,600)
screen = pygame.display.set:caption(resolution)
screen = pygame.display.set:caption(resolution)
The result should look like this:

I don't know about you, but at least for me it's very exciting to see a window pop up, even if it's blank. But you know what will be even more exciting?
Adding images
To add an image, we assign it to a variable, like this:
myImage = pygame.image.load('someImage.png')
After the main loop we'll add the two steps that actually draw the image on the screen:
screen.blit(myImage, (100,100))
where (100,100) is an arbitrary position within the screen.
The screen is represented as a grid, and the tuple we fed into blit() is the coordinate pair. Although we usually represent the Y-axis as increasing as it goes up, it's the opposite here:

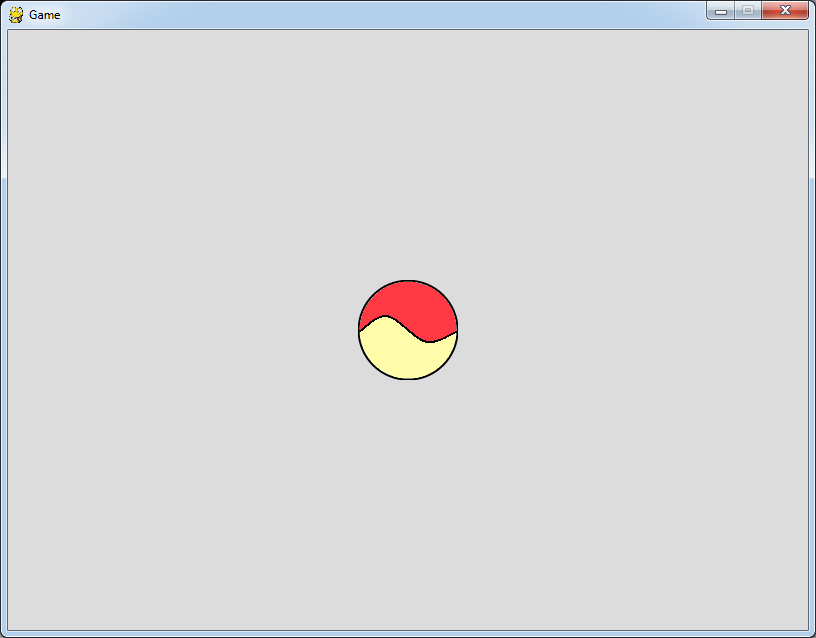
Building upon the previous code, we get something like this:
import pygame
from pygame.locals import *
pygame.init()
screen = pygame.display.set_mode((800,600))
# Load the image. In this case a ball.
ballImage = pygame.image.load('ball.png')
pygame.display.set_caption("Game")
running = True
while running:
for event in pygame.event.get():
if event.type == QUIT:
running = False
# Fill the screen with a background color
# expressed in RGB. In this case, a light
# gray.
screen.fill((220,220,220))
# Transfer the image into the screen.
# BLIT = BLock Image Transfer.
screen.blit(ballImage,(350,250))
# Flip the frame buffer and the
# draw buffer, if I'm not mistaken.
pygame.display.flip()
pygame.quit()
Keep in mind that all of these statements go outside of the for loop, where we look for player input.
I'll provide you with the 'ball.png':

This is the result you should see (of course, if you use the same 'ball.png'):
In the next post, we'll start moving that ball. Until then, take care!
No hay comentarios:
Publicar un comentario